
Planning / 6 min read
How big should your daypack be for one day in a US national park
Choose the right daypack size for one day in a US national park without overpacking, underpacking, or turning the day into gear management.
October 26, 2026
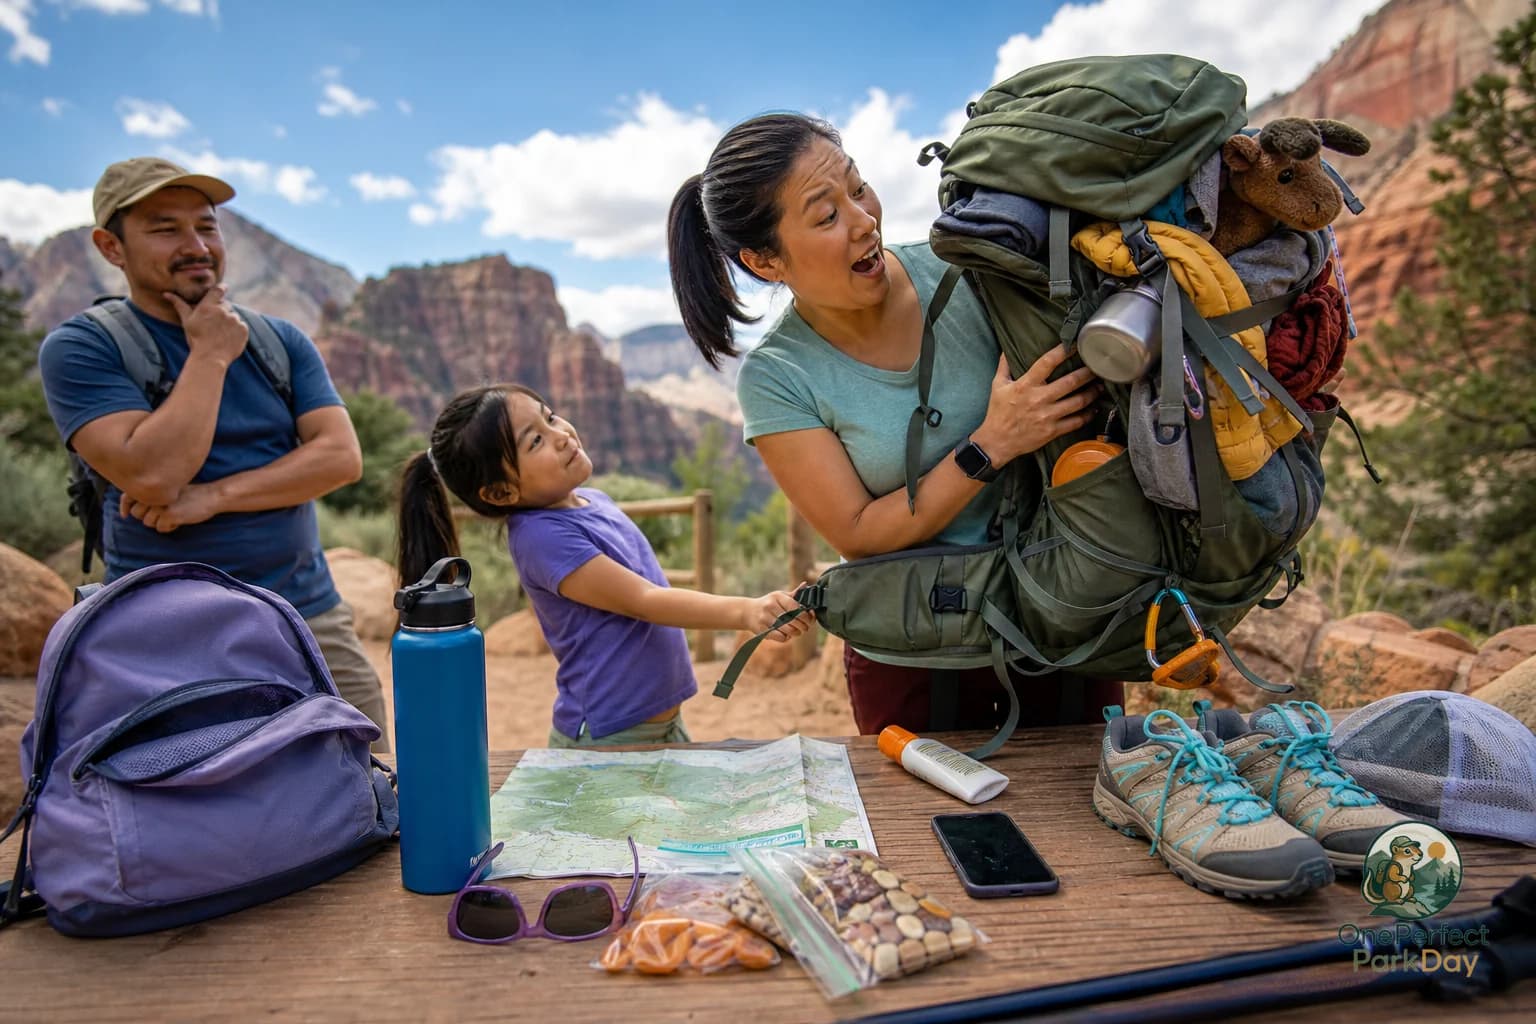
A daypack can quietly take over a national park day.
Too big, and you spend half the day digging through stuff you did not need. Too small, and lunch becomes a negotiation with your mood, your kids, or the weather. The goal is not to prove you are rugged. The goal is to move through the day with enough comfort and margin that the park still feels like the point.
This is not another giant packing list. It is a way to choose the right size bag for one day in a US national park.
Direct answer
For most casual one-day national park visits, your daypack should be small to medium, big enough for water, food, a weather layer, sun or rain protection, basic health items, your phone setup, and a little empty space.
If your day is mostly overlooks, visitor centers, picnic areas, and short walks near the car, go smaller.
If your day includes shuttles, longer trails, big temperature swings, kids, medical needs, or long gaps between services, go larger.
The mistake is choosing a bag first and building the day around it. Flip that. Build the day, then decide what the bag needs to handle.
If you are still shaping the day itself, start with How to build a flexible one-day US national park plan. Your bag should support that plan, not become its own side quest.
What changes the right bag size
Distance from the car matters more than total time in the park. A long scenic drive with frequent parking areas may need less carried gear than a three hour trail where the car is irrelevant once you leave the trailhead.
Weather swings matter. Mountain parks, desert parks, coastal parks, and high elevation roads can make the morning, afternoon, and evening feel like different trips. A pack that has room for a layer is often better than one stuffed so tightly you have to wear everything you brought.
Food access matters. Some parks have cafes, some have limited seasonal services, and some have long stretches where your snack plan is the snack plan. Check current park information before you go and do not assume food will appear exactly when people get tired.
Group needs matter. A solo adult can run lean. A family with kids, older relatives, medication timing, allergies, or someone who gets cold easily needs more margin. That does not mean carrying the whole house. It means being honest about the people in your car.
Transportation matters. Shuttle days and one-way walks usually call for more carry capacity because returning to the car may not be simple. If your day lets you pass the car often, you can stage backup items there and keep the walking bag lighter. For that split, see What to keep in the car versus your daypack for one US national park day.
Current conditions matter most. Before you commit, check current National Park Service alerts, weather, road status, trail conditions, shuttle rules, timed entry requirements if applicable, and any seasonal closures for the specific park.
Common mistakes
The first mistake is packing for an imaginary expedition. If your plan is two overlooks, a ranger program, lunch at a picnic table, and one short trail, you do not need to carry like you are crossing a wilderness basin.
The second mistake is using a tiny bag as discipline. A small bag can be great, but not if it forces you to skip water, layers, food, medication, or kid basics. Minimalism gets less charming when someone is hungry and the next stop is 45 minutes away.
The third mistake is making one adult carry the entire group’s comfort. If one person becomes the walking supply closet, that person usually has a worse day. Share what can be shared, but let capable adults carry their own water, layer, and snacks.
The fourth mistake is packing the bag so full there is no room to adapt. You may need to shed a jacket, stash a hat, carry a damp layer, or manage a snack wrapper until you find a trash can. A little empty space is not wasted space. It is sanity.
The fifth mistake is ignoring the exit plan. If your route has no easy turnaround, your bag needs more margin. If every stop is optional and close to the car, your bag can be lighter.
Questions to check before you zip it up
Ask these before you leave your lodging or the parking area:
- Will we see the car again before lunch?
- What happens if the trail, shuttle, road, or weather changes our timing?
- Who in the group gets uncomfortable first, and why?
- Are we carrying enough water for the warmest part of the plan?
- Do we have food that works if lunch is later than expected?
- Is there room for a layer if someone takes it off?
- Do we have anything we would regret not having if plans stretch toward evening?
- Are we carrying heavy items out of habit instead of need?
That last one is where a lot of bags get lighter fast.
Practical daypack checklist
Use this as a starting point, then adjust for the specific park, season, weather, trail length, group, and current alerts.
- Water that is easy to reach
- Snacks or lunch that do not require perfect timing
- Weather layer, rain shell, or warm layer as conditions suggest
- Sun protection such as hat, sunglasses, sunscreen, or lip balm
- Basic first aid, blister care, and personal medication
- Phone with downloaded maps or saved route details
- Battery backup if your phone is doing navigation, photos, and communication
- Current reservation, timed entry, tour, or permit details if your day requires them
- Small trash bag or zip bag for wrappers and damp items
- Hand sanitizer or wipes
- Simple navigation backup, especially where signal may be unreliable
- Headlamp or small light if there is any chance your day runs late
- Kid comfort items if needed, but keep them ruthless and specific
- A little empty space
Do not treat this as a dare to add everything. Treat it as a filter. If an item does not support your actual plan, your actual people, or the actual conditions, it may belong in the car or back at your lodging.
A realistic way to choose
Think of the bag in three levels.
Light setup: visitor center, overlooks, short paved walks, reliable car access, mild weather. Carry water, snacks, sun or rain basics, medication, phone, and a light layer if needed.
Standard setup: several short hikes, picnic lunch, half day away from services, variable weather, or kids. Add more food and water, a better layer, first aid, navigation backup, and room for shed clothing.
Margin setup: longer trail time, shuttle reliance, remote roads, big heat or cold swings, medical needs, or uncertain timing. Carry more water, more food, stronger weather protection, power backup, and the items you would not want to be without if the day runs long.
None of these setups guarantee a smooth day. Parks are real places, not controlled environments. Roads close, storms build, kids melt down, shuttles fill, trails change, and sometimes the best call is to do less.
But the right daypack makes that easier. It gives you enough room to adapt without dragging the whole trip on your back.
If you want help turning the bag, timing, stops, meals, and backup plan into one cleaner day, start with One Perfect Park Day.
Practical note
This article is general US National Park planning information. Park rules, hours, weather, trail conditions, road closures, shuttle service, accessibility procedures, permits, and crowd levels can change. Check the official National Park Service site or app before relying on any plan.